Adding Knowledge Bases to your existing documentation is easy. Head to the Knowledge Base menu > Manage KBs. The screenshot below shows the screen that appears:
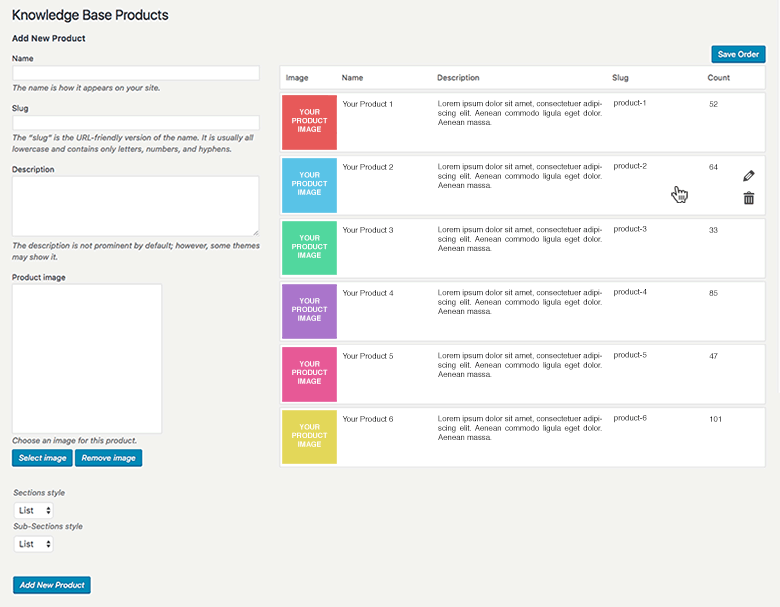
This page is not much different from the standard WordPress category page however it has some real useful features. Every KB can have a description and image related to it. Use this according to the theme you’re using. You can decide how you want to style the sections and sub-sections of your documentation. You can choose between list and box style. The look would change depending on the theme used.
Once you have created a new KB it will be directly added to the table on the right of the page. When you create Multiple knowledge bases, you can sort the order of how they will appear on the entry page by dragging them in the right-hand table in the order you want. Press Save Order to make your changes permanent.
If you use a Single Knowledge Base, the first KB on the list will be the one used. You can switch between single and multi KB mode at anytime.
If you hover one of the existing Knowledge Bases on the table list one or two icons will appear.
- The Pencil – use this to edit and modify the existing Knowledge Base
- The Bin – use this to delete the Knowledge Base. As a security measure this icon is available only if the Knowledge Base contains no articles. The article count is indicated in the previous column. If you want to delete a Knowledge Base which has articles, go to the articles page and delete them first or move them to another Knowledge Base.